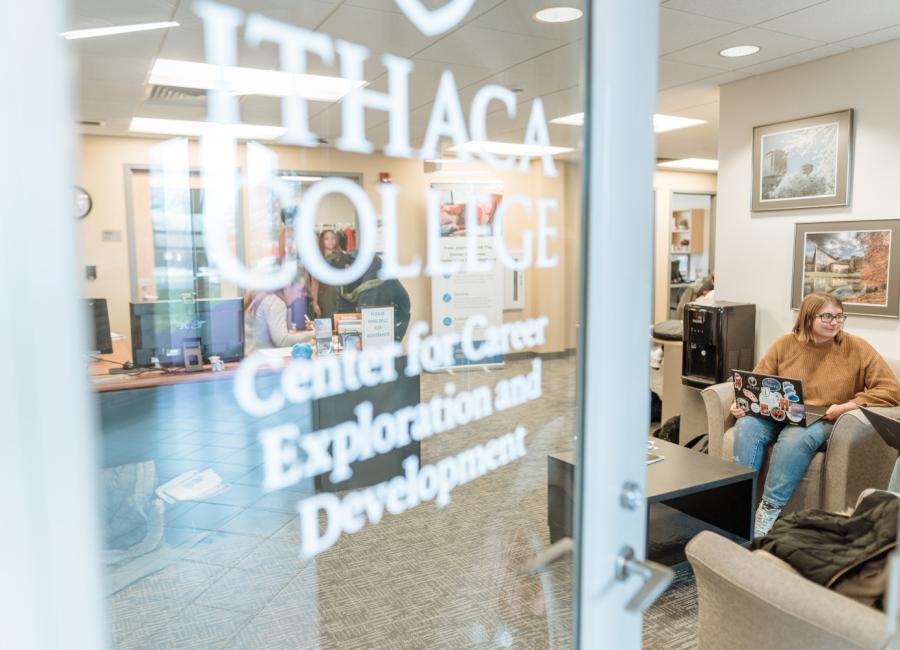
Learn to navigate the IC HR Cloud!

IC HR Cloud is Ithaca College's human resource and finance management software, where students can submit timecards, update pay information, and view payslips. It is accessible anywhere via the internet.
Log in to IC HR Cloud

You can login to your ICHR Cloud account here.

Having trouble logging in? See the ICHR Cloud login guide here.

Create and Submit Timecards

Instructions on creating and submitting timecards can be found here. If you don't submit timecards by the submission dates, you can submit them for the next pay period.

Sway presentation for completing timecards.

For timecard submission dates and pay dates check the Payroll Schedule. Timecards must be submitted and approved by your supervisor by the "Approved Timecard Dates" in order for you to receive payment on the "Pay Date". You will receive an email notification after your final supervisor approves your timecard. If you have not received the email notification before the due date, it is up to you, the student, to follow through with your supervisor to see where it is and why it is being held up.

Sign up for Direct Deposit

Receive your pay faster via Direct Deposit. 

View Payslips

Payslips are viewable the Wednesday after timecards are due. Learn how to view payslips and how to download them for your records.

NYS Paid Sick Leave Hours

See here for information about adding NYS Paid Sick Leave hours to your timecard.

IC HR Cloud - Frequent Asked Questions

Timecards should be submitted by 12 Noon the Monday after the pay period. Please refer to the Payroll Schedule for specific dates and times.

Time types are determined by an employee’s position.  Although there are numerous time types, employees will see the time types that are appropriate for their position. 
 
For student employees, the time type is always "Regular Hours."

Student employees do not qualify for overtime and holiday pay.

The approval process follows the position hierarchy.  In this case, your supervisor’s supervisor will approve your time card. 

When you go to Existing Timecards, make sure the proper pay period is listed in the Date section before entering hours.  If it is not the correct pay period, click on the calendar and select the start date of the pay period in which you need to log hours.  Once the correct pay period is confirmed, then start logging hours in the Entries section. You can do this by clicking the “Add” button to add the day and hours worked.  

This occurs when an employee opens a timecard that has already been approved and presses “save and close”.  This reverts the timecard back to a saved status. This means that the timecard will have to be resubmitted and reapproved in order to be included in the payroll processing and payment. 
 
If you only need to review any timecard that was already approved, and do not have any changes made to the timecard, you may click “Cancel” to return to the Existing Time Cards page. 

When you go to Current Time Card page, the 2-week time period shown is the current pay period that you are on as of that day.  If you need to enter hours for the pay period prior or after the pay period indicated, please click “Cancel” to return to the Time and Absences page and click on Existing Time Cards icon.  On this page, click “Add” to select the first day of 
the 2 week timecard period desired, then “Add” again in the Entries section to enter day and hours worked. 

To edit approved timecard, you need to click Existing Time Cards icon.  Click on the timecard link for the pay period that you wish to correct. Then click on the pencil to edit the worked hours reported or click on Add to add hours for the missing day.  Once complete, click on the Submit button to re-submit your revised timecard for your manager’s approval.    


For Students - If you have multiple assignments, you have reported for one assignment and found out that you did not report for the other assignments.  Follow the same process mentioned in the previous paragraph to add hours for the missing day(s), and make sure that you have selected the correct Job and Department in the Job-Department field.  Once complete, click on the Submit button to re-submit your revised timecard for your manager’s approval.    

Follow the same process as answer to Question #9 above.  Once your revised timecard is resubmitted and re- approved, the missing/unpaid hours will be calculated retroactively and will be processed in the following pay period.   


Yes, click on Existing Time Cards, click the +Add button, choose the first day of the 2 week time card period, and then begin adding hours. 

This is most likely because your former supervisor has not ended your prior assignment in Parnassus. 

Yes, follow the steps outlined below: 1. Click Time and Absences App 2. Click the tile: Existing Time Cards 3. Click on the +Add icon 4. Click on Action button.  Select Copy Other Time Card Click on the Star next to the time card you’d like to copy 5. Name the Time Card: Example: My Regular Work Week 
 
To use a favorite time card 1. Click Time and Absences App 2. Click the tile: Existing Time Cards 3. Click on the +Add icon 4. Select the date 5. Click Actions- Select Copy Other Time Card 6. Which time card do you want to copy?  Select from the dropdown box  Example: My Regular Work Week 7. Click ok 8. Click Submit 

The email notification is sent out to the supervisor of each student assignment.  If student has multiple assignments that are reported to the same supervisor, then that supervisor will receive more than one email.  In this case, the supervisor will need to approve multiple times.  If approved in one email, but rejected in another, this will put the timecard in the “rejected” mode which is not going to be picked up for processing by payroll.  Approving same timecard multiple times will not trigger multiple payments on the same timecard.