The Patron Portal can be found online at:
https://ithaca-cloud.webcheckout.net/sso/patron#!/
PPECS & MCR Patron Portal Troubleshooting
Below you will find step-by-step instructions as a video and written out for Patron Portal with screenshots and advice for troubleshooting error messages.
Accessing Patron Portal
Log-in using your Ithaca College NetPass
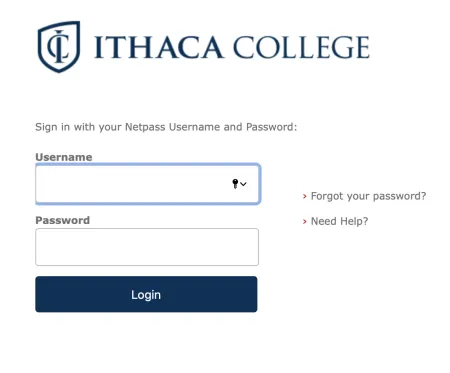
Sign in to Patron Portal with your NetPass credentials.
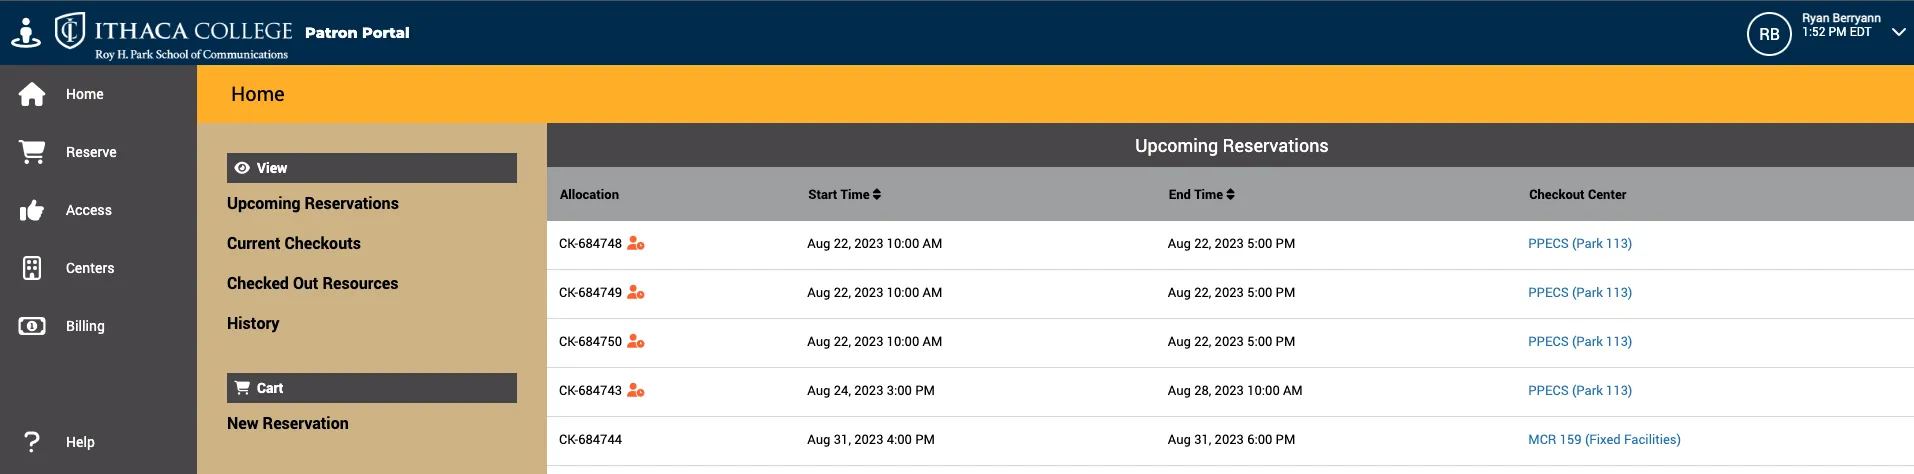
Patron Portal Home Page
Once logged in your patron portal home page will show any upcoming reservations you have. You will also see options to view current checkouts, a list of your checked out resources, or your checkout history. On the far left column are additional viewing options including Reserve, Access, Centers and Billing. Reserve is where you make a new reservation, Access will show you the courses/groups you are currently enrolled in. Centers shows you the patron portal checkout centers you have access to and Billing will show you any outstanding invoices on your account for lost or damaged equipment.
To Make a Reservation

Click the shopping cart “Reserve” icon on the left side of the screen to start a new reservation.
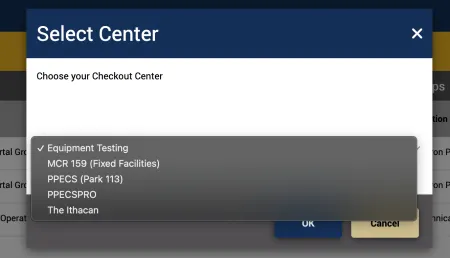
You will then be prompted to select a checkout center. You will only see centers you currently have access to. Choose the checkout center that applies to you. PPECS (Park 113) is where most portable equipment can be found. PPECS Pro is where advanced cameras and equipment are found. MCR (Park 159) is where you will find studios, rooms, editors and other fixed facilities. Equipment Testing is where advanced equipment workshops and certifications can be booked.
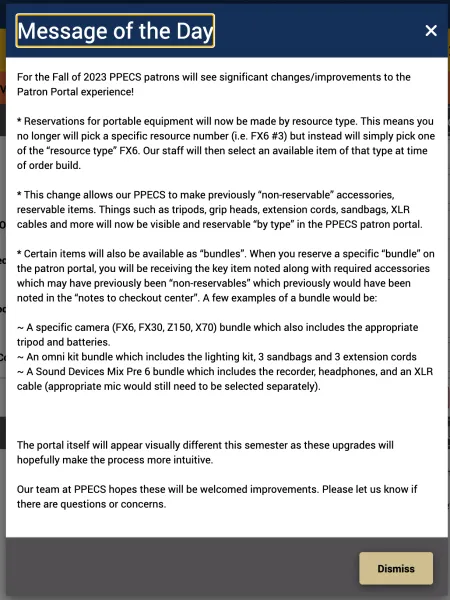
You will be presented with a “Message of the Day”. Please read this message as it contains useful information regarding policies, reservations, and checkout and return procedures.
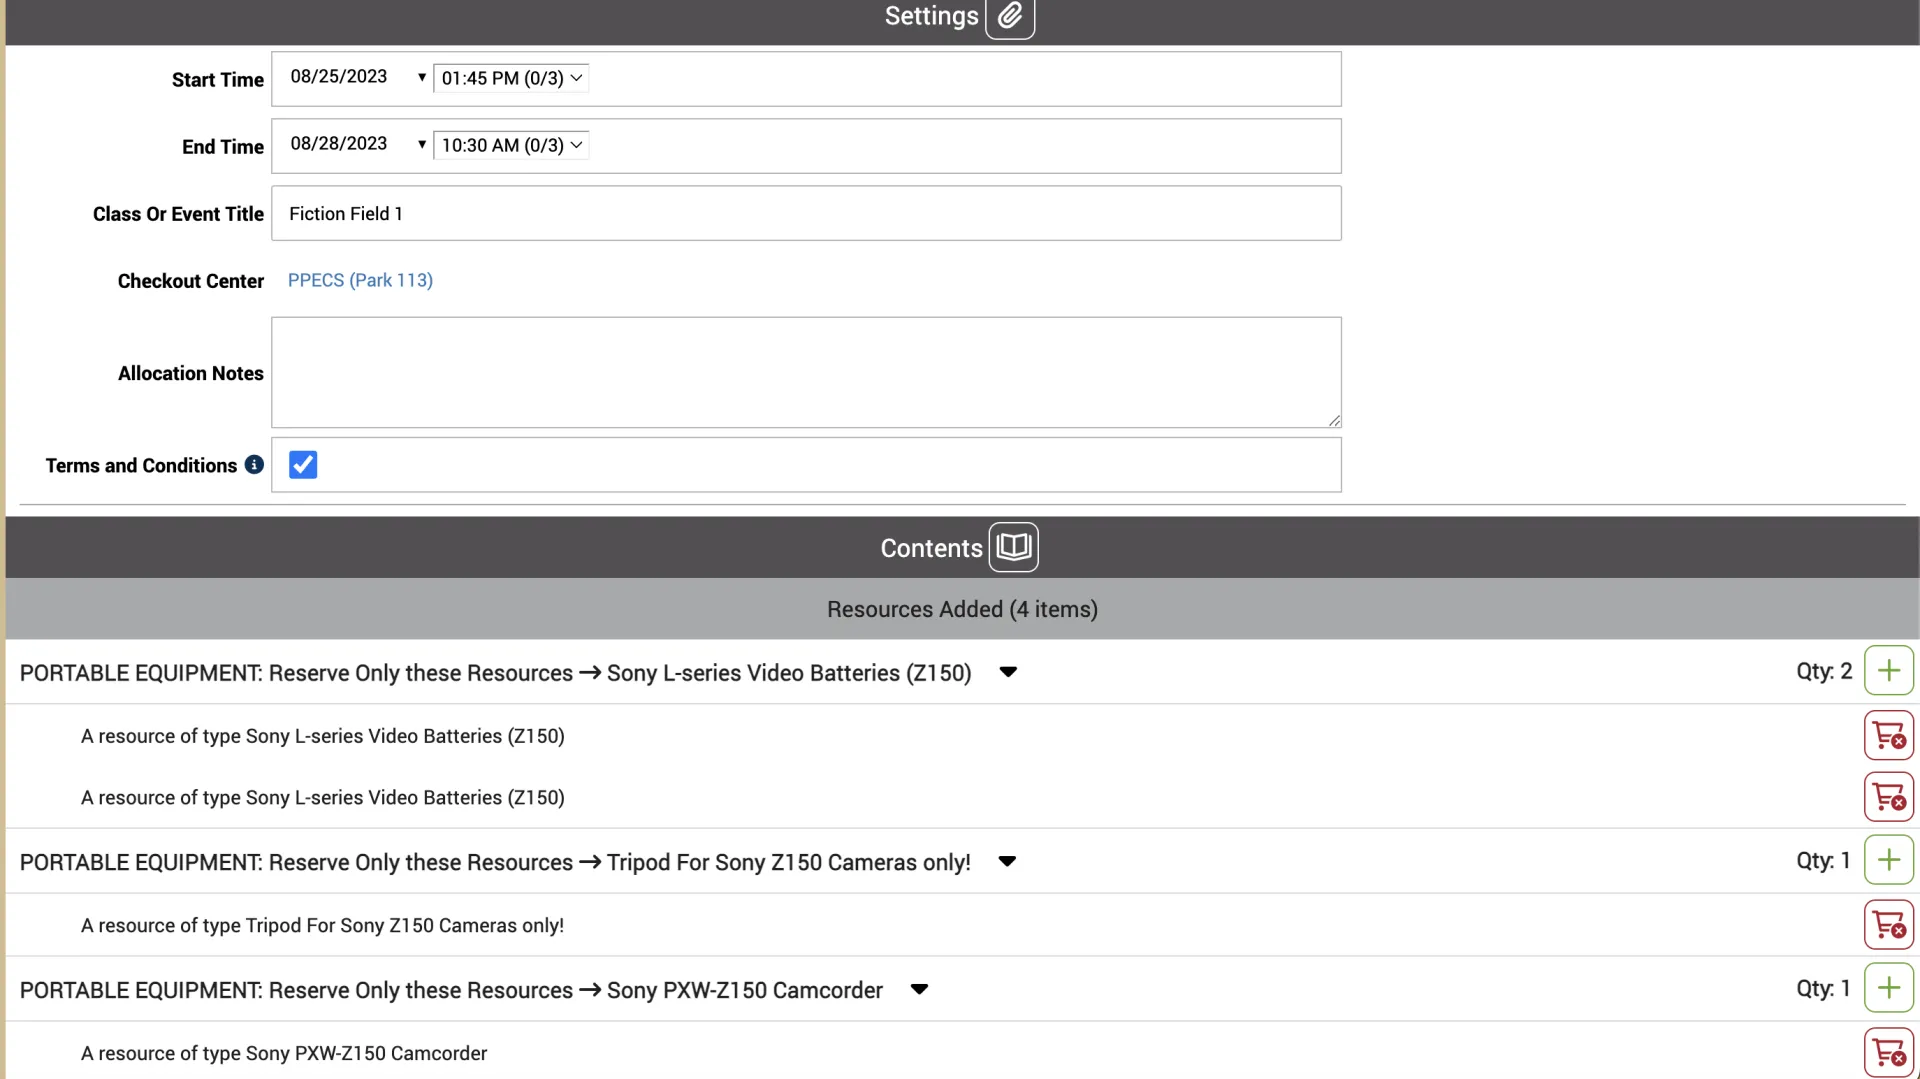
Then "New Reservation: Your Reservation is Empty"
After closing the message of the day, you will be brought to a “new reservation screen” where you will select your pickup and return dates and times. You are also required to note what class the equipment is being used for and to indicate you have reviewed the terms and conditions and accept financial responsibility for the equipment while it is checked out to you. You can also leave a note to PPECS Staff here if necessary.
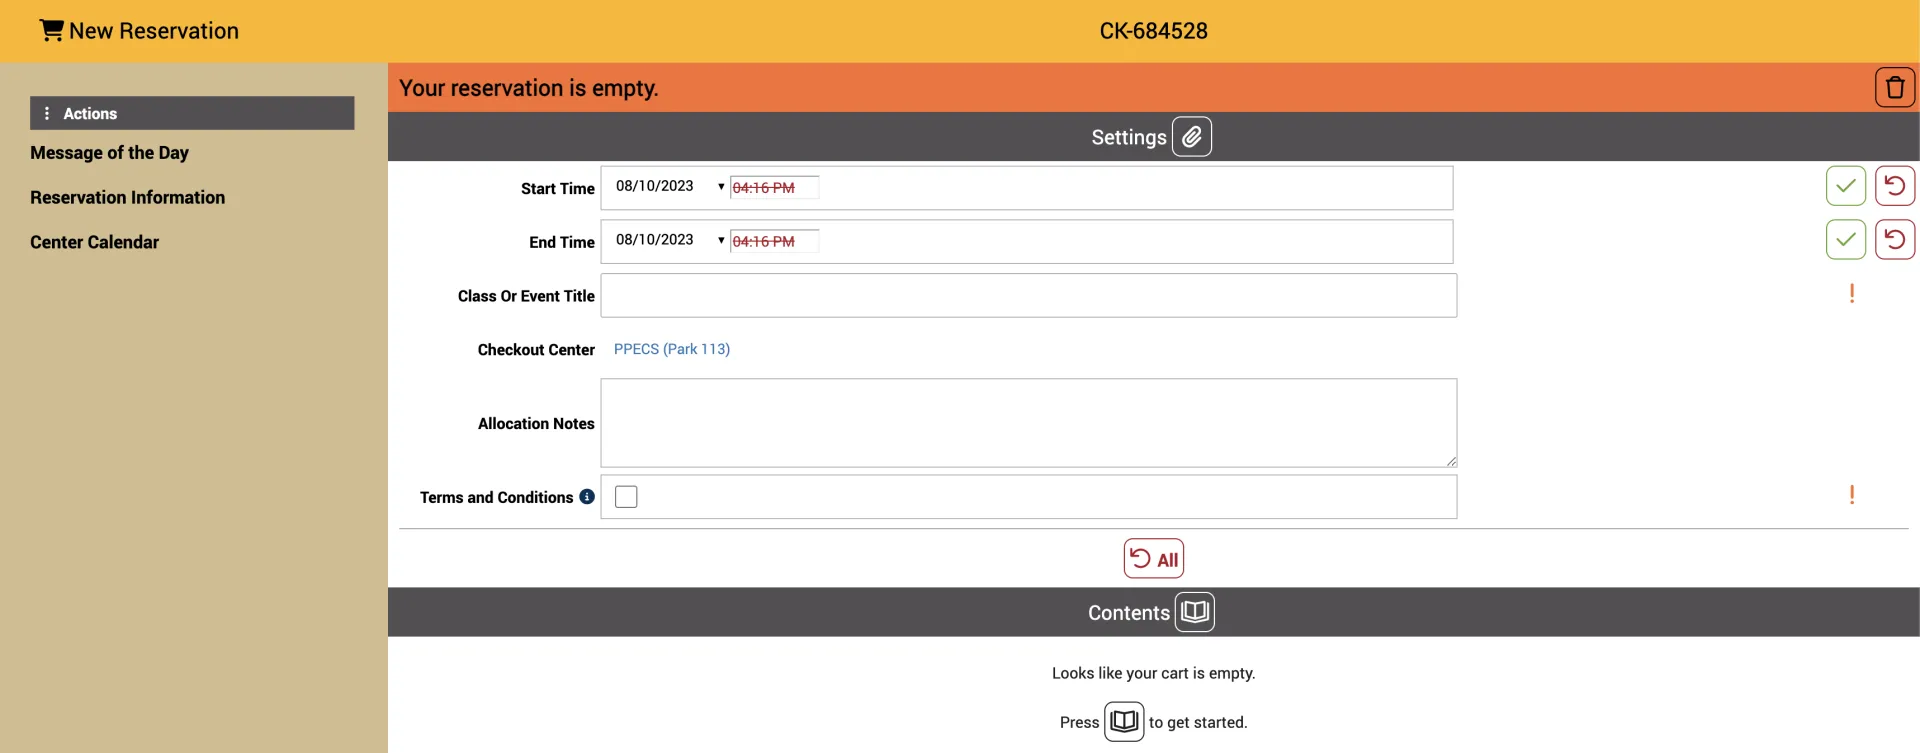
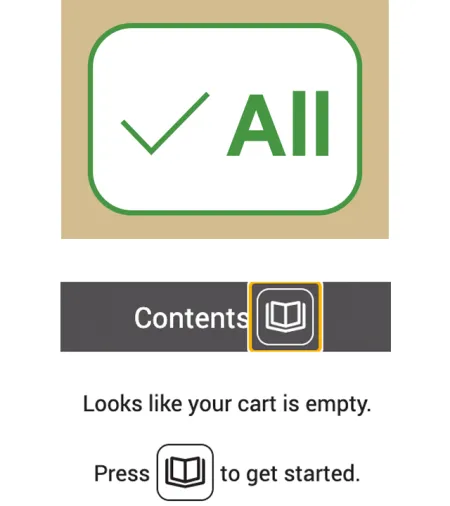
Click the Checkmark All Icon to save your information.
Then Click the open book symbol at the bottom of the screen to start adding resources.
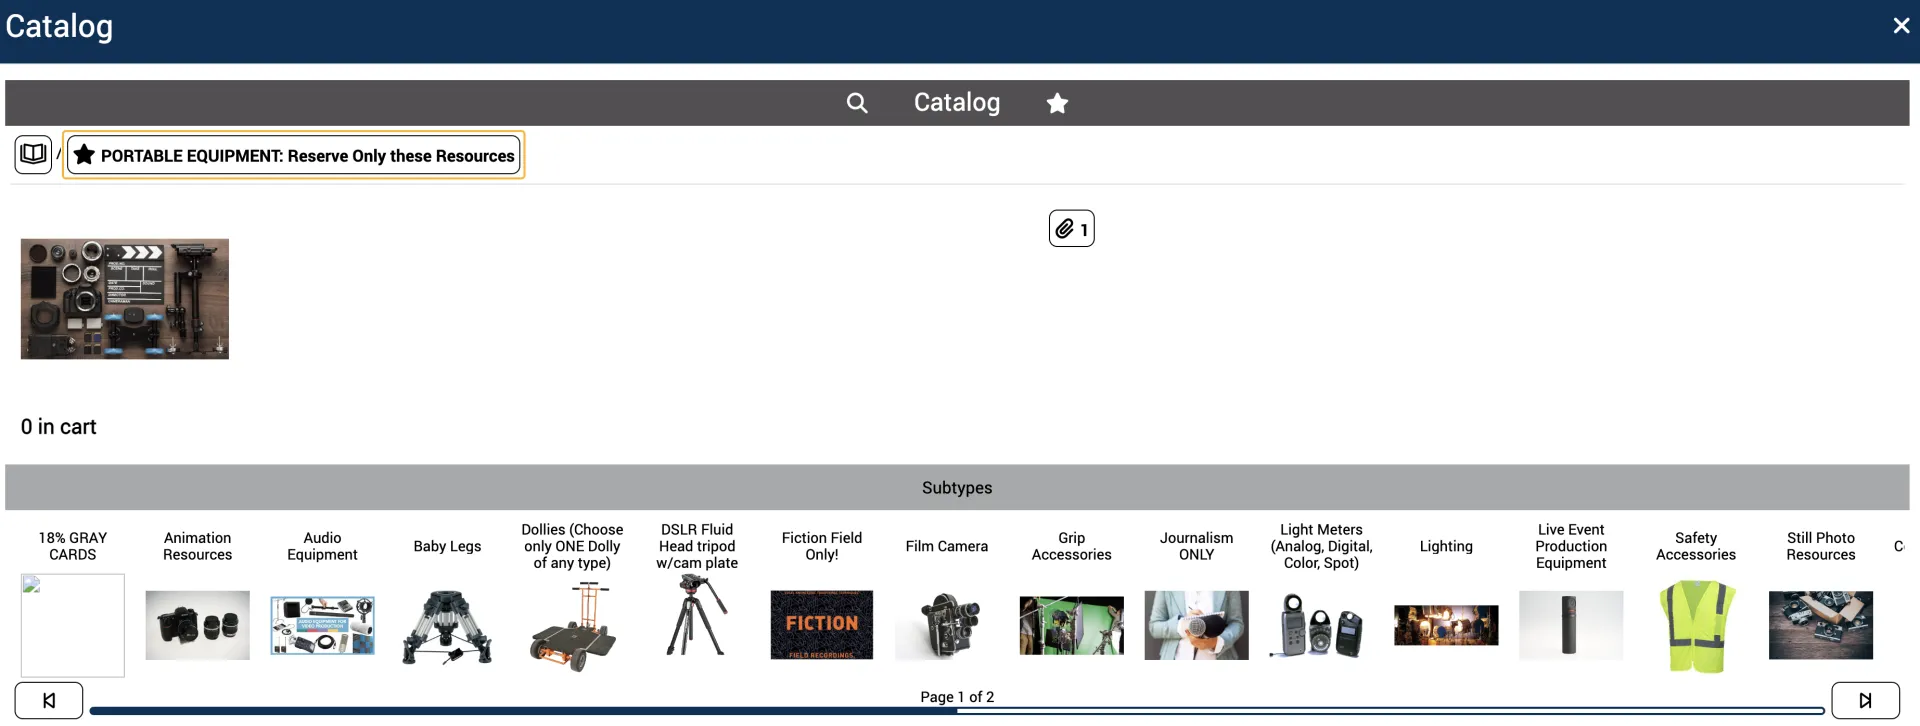
Then Select "PORTABLE EQUIPMENT: Select Only These Resources"
Then “Catalog View”
You will then see a catalog of various equipment categories scrolled across the bottom of the screen. Select the proper category you are looking for. You may need to click through a number of steps to reach you final item. For instance click audio equipment Audio Recorders Sound Devices Mix Pre 6 BUNDLE to reserve one of those recorders.
Then “Item Selection”
Once on the Catalog page of the item you wish to reserve, click the green plus symbol to add one of that type to your “shopping cart”.
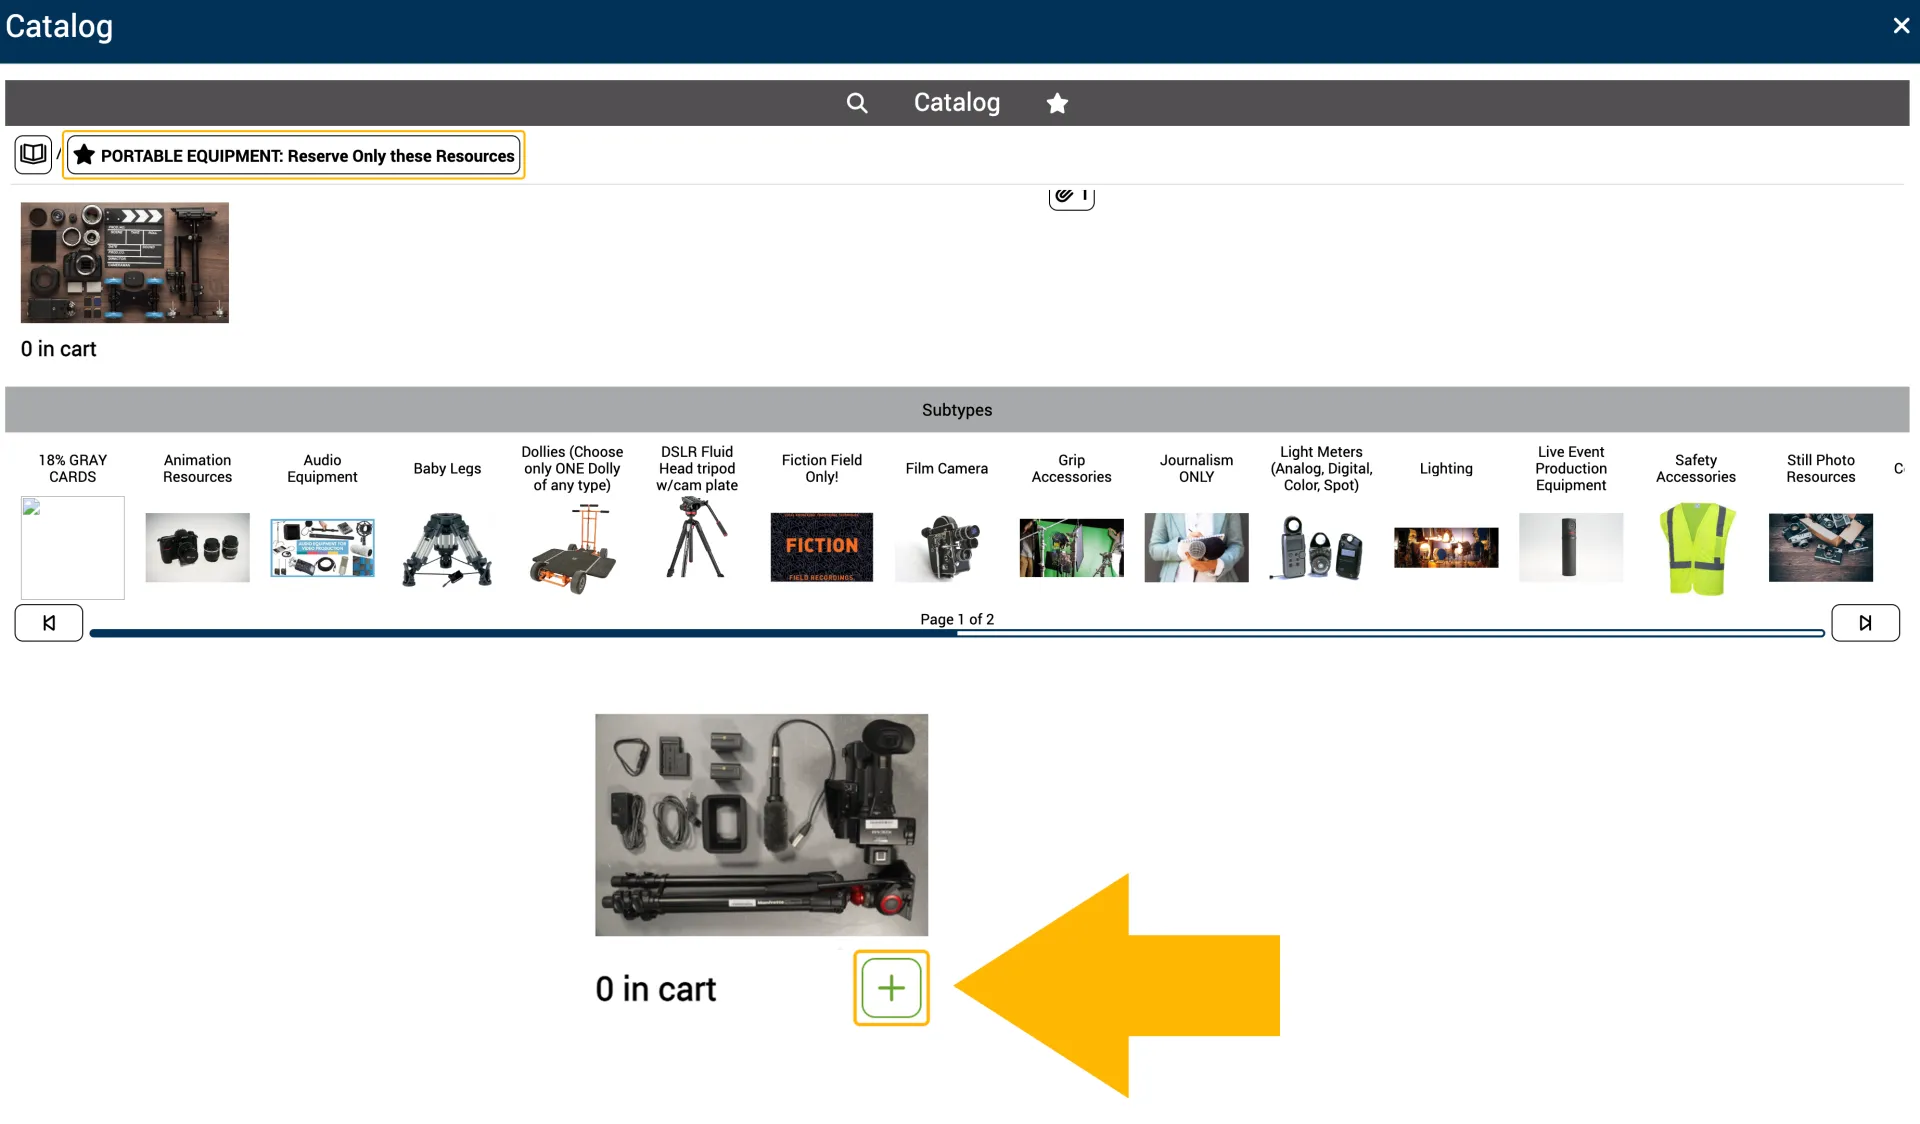
Then “Repeat process for additional resource types”
Continue to navigate the menus until all needed equipment added to your cart.
Then “Shopping Cart View”
You will then see your “resources added” in a list view
Then “Save Your Reservation”
Once Errors are resolved you will see a green “Ready to Save” banner. Click on the floppy disk icon to save your reservation. You will receive a green reservation confirmed icon and be taken to a screen with your reservations details.
You will receive a confirmation email to the email address affiliated with your account.
Please note that all equipment reservations will go through an approval process from PPECS Management before they are finalized.
Errors Are Normal
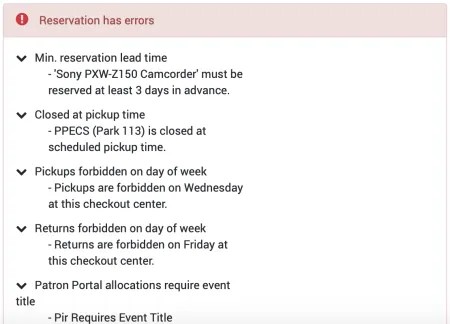
It is normal to have errors at first which will need to be corrected in order to proceed. We didn't create this system, but we are doing our best to make it work for you!
If no errors are present, click "Submit Reservation."
Error Messages & Fixes
Below you will find common error messages along with solutions to help you make your reservation. With patience and practice, you'll be a pro at this process in no time.
Terms & Conditions
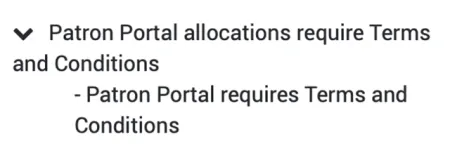
This error indicates you must check the box indicating you have read the terms and conditions of your order. This is where you accept financial responsibility for your equipment while it is in your possession.
Event Title

This indicates that you must add an event title to your reservation. This is typically the name of the class for which the equipment is being reserved.
Change Pickup Day

When you receive this message, it means pickups cannot be made on your selected day. You must return to the top of the screen and change your pickup day to a day where pickups are allowed. Pickups are allowed Tuesday through Thursday 1pm to 4pm and Friday 10am to 4pm.
Change Return Day

This indicates returns cannot be made on your selected day. In order to place the reservation, you must change your return day to a day of the week which allows returns. Returns can be made on Mondays from 10am to 4pm and Tuesdays through Thursdays from 10am to 12:30pm.
Change Pickup or Return Hours

This indicates that your pickup and/or return is scheduled outside of PPECS hours. PPECS is open from 10AM to 4PM Monday through Friday.
Book in Advance
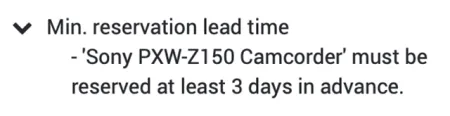
This message means that you have not booked your reservation far enough in advance. 48 hours advance notice is required for PPECS and 72 hours advance notice for PPECS Pro. To continue, you will need to adjust your pickup time later to adhere to at least 48 or 72 hours in advance respectively.
Return Time AFTER Pickup Time

When selecting a date and time the return time must be after the pickup time. This means if a pickup on a Friday then the next available time to return it would be Monday of the next week. Make sure to double check in the system when choosing reservation times so the pickup time comes first and the return time comes last. If it does not follow this order the system will not allow for the reservation and this notification will appear.